Who doesn't love frolicking in the falling leaves of the season? Alas, the beauty of autumn is ephemeral. Leaves crumble and disappear, leaving bare branches behind.
With this fun and creative kids' craft, however, you can keep the magic of the season alive by preserving beautiful autumn leaves in all-natural beeswax!
Colorful leaves make a great table centerpiece or natural garland. They will retain their color for several weeks, carrying you from Halloween through Thanksgiving.
This non-toxic craft is also eco-friendly, so when it's time to say goodbye to your project, you can simply add it to your compost pile and return it to Earth.
1: Collect
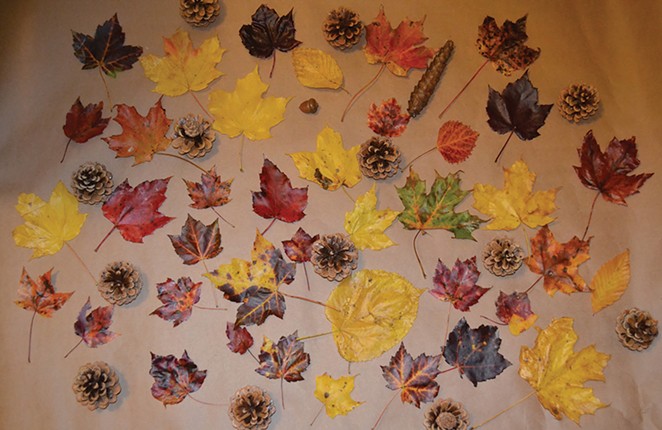
Go on a nature walk to forage for beautiful leaves. Look for bright, bold colors that will really pop and interestingly shaped leaves of various sizes. Collect them gently in a basket so they don't tear.
Hot tip: For best results, use flat leaves that have fallen from the tree, yet haven't gotten too dry or crispy. Recently fallen leaves will contain less moisture than leaves still on the tree while still being flat around the edges. You can also press the collected leaves in a heavy book with weights on top for a day or two, but don't wait much longer than that or the leaves will start to lose color. Ultimately, flattened leaves will be easier to dip in the wax and will dry more evenly.
2: Heat
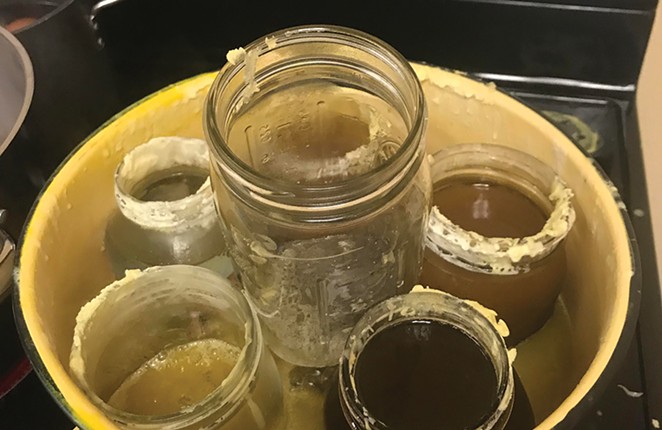
Heat your solid beeswax pellets (available for purchase in local craft stores or online) into molten liquid in a dedicated crock-pot or make your own DIY double boiler using pots and pans. (You'll probably never be able to get all the beeswax out of your kitchenware, so it's best to thrift these items for cheap rather than using expensive new ones.)
To make a double boiler, simply place a smaller pot, pan, glass bowl or jar inside a larger, deeper pot of boiling water. Several glass mason jars nestled together inside a big pasta pot work well, just make sure your small pots or jars do not fit completely inside, as you want them floating slightly above rather than resting completely on the bottom.
Important Safety Note: Beeswax is highly flammable, so you want to avoid using a single pan directly on the stove. Otherwise, it can smoke and even catch fire if it gets too hot, much like grease. Children should be kept well away from the stove area while their parent or caretaker heats the beeswax.
3: Dip
Create a safe dipping station for your children by removing the wax pot from the stove so it has time to cool slightly for a few minutes, but keep the water in your double boiler in case you need to reheat it later. Place your pot on a safe heat surface at an accessible height for your child and help them carefully dip each leaf in one at a time.
Work quickly, dipping the leaf in and out while ensuring all parts of it are coated in wax. Gently shake off extra wax or let it drip over the pot. Avoid dipping the leaf a second time, as this can make the wax too thick on the leaf and cover up too much of its natural color. Don't forget to turn it around after it cools off to dip the stem in too! Lay your dipped leaves face up on a piece of wax or parchment paper to dry.
Hot Tip: Keep the wax warm enough that it remains liquid, but not so hot that it wilts or cooks the leaves. As the wax cools it will re-solidify and become thicker and less clear on the leaves. If you're dipping several leaves for a long time, you might need to reheat the wax again, so it's at the ideal temperature. To clean up, reheat your pot of beeswax, pour out any extra to save for the future and wash out your pot with soap and hot water.
4: Create
Use your creativity to make an autumnal table centerpiece! Add them to a clear glass bowl or vase for display, perhaps with some dried flowers or fruit. Cluster them on a table mat with acorns, pinecones, gourds or other seasonal nature companions.
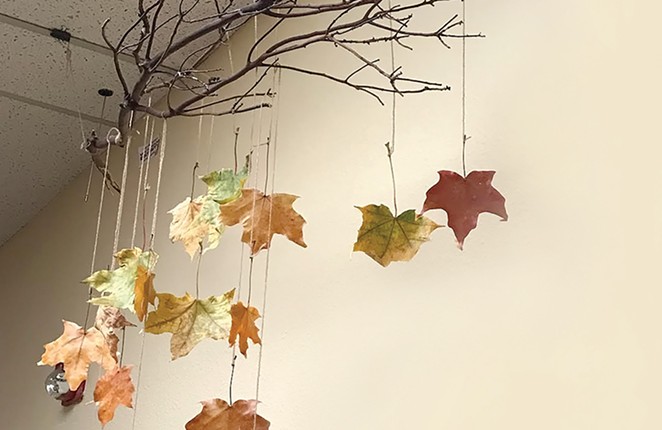
To make a cheerful leaf garland, drape a long piece of twine across your window, fireplace or other home area and tie each leaf by its stem with twine or clip them using petite clothespins. The sunlight shining through the leaves will be gorgeous.
Similarly, you could also tie your leaves at various heights to a stick and hang it on the wall as a decorative mobile. So much is possible with this sweet little seasonal craft the whole family can enjoy!


